Prepare a Phone Photo Before Removing Its Background
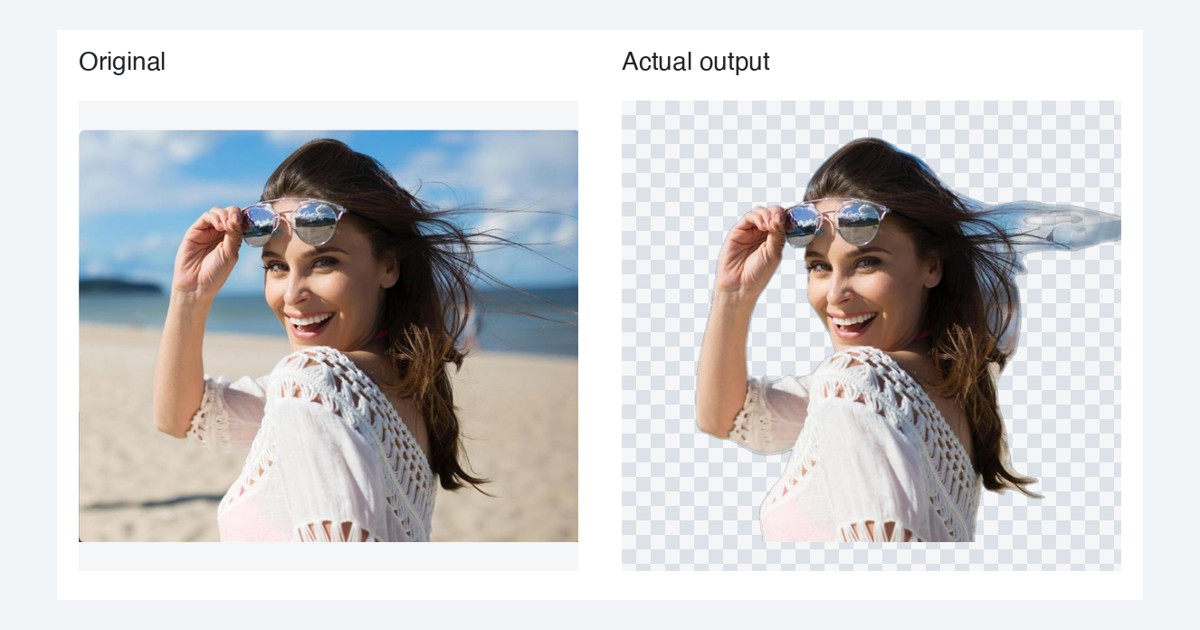
The picture in your chat thread may be easier to find than the camera original. It may also be a smaller, recompressed copy. When you want to remove a background from an image for free, start with the best file you already have before spending an attempt on a screenshot.
Takeaway: use the camera original when practical, transfer the actual file, and check its orientation and subject detail before uploading.
Find the source, not just the visible picture
A screenshot can include interface elements, margins, and fewer useful subject pixels than the original photo. A messaging copy may have been resized. Neither is automatically unusable, but both introduce avoidable uncertainty when the camera file is available.
Choose a photo in which the important parts of the subject are in focus. Background removal cannot recover a blurred label or a hand that is already outside the frame. Check that the full silhouette is present, including hair, handles, straps, or any other detail you need to keep.
Check orientation after transferring
Phone interfaces and file-transfer options differ, so there is no universal button sequence to follow here. Use the transfer method available to you, then open the received file before uploading. Does it face the right way? Does the image still contain the detail you saw on the phone?
Keep the original unchanged and work from a copy if you need to rotate or crop. Leave enough space to inspect the whole subject. A tight crop that cuts off the edge of a shoe or a strand of hair makes it impossible for the output to include that missing content.
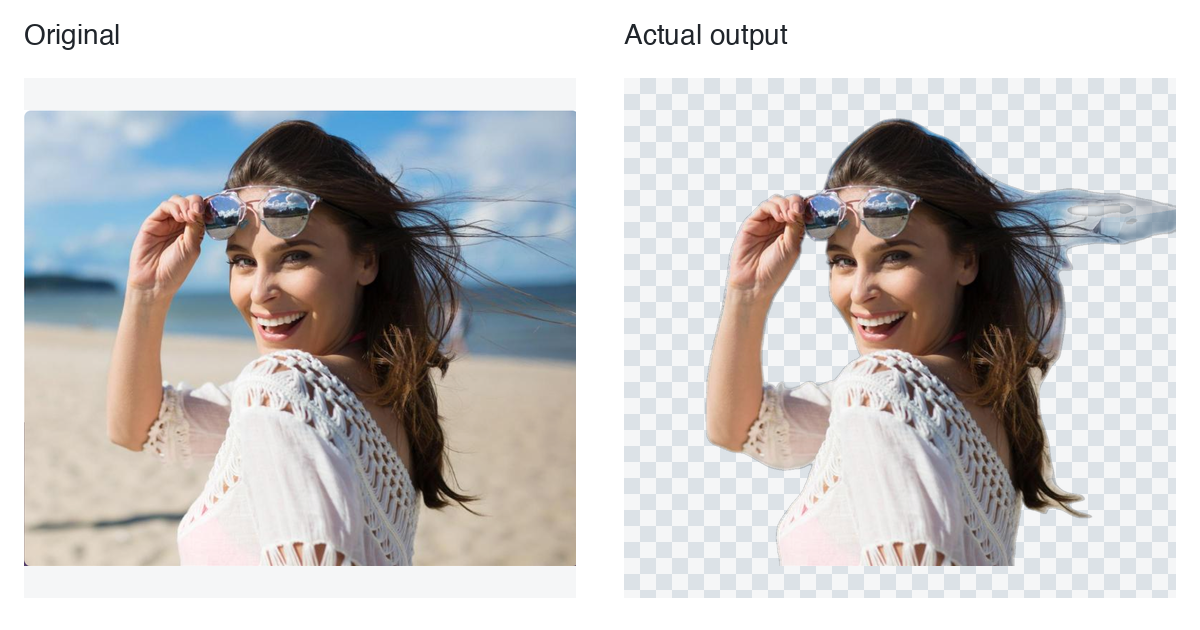
Recorded RemoveBGKit result from October 3, 2026. This is a historical portrait sample, not a test of a particular phone, transfer method, or file format.
Worked example: choose between three copies
Imagine you have a camera original, a chat attachment, and a screenshot showing that attachment. This is a preparation example, not a phone-specific test. Open each file and compare the smallest detail that matters, such as a printed label. Choose the clearest usable copy, rather than assuming the newest file is best.
| Available copy | Preparation decision |
|---|---|
| Original is sharp and correctly oriented | Keep it unchanged for the first upload. |
| Chat copy looks smaller or loses lettering | Transfer the original file and compare again. |
| Screenshot includes buttons or margins | Find the underlying photo; if unavailable, avoid cropping into the subject. |
Use Pick image to process at RemoveBGKit. Compare the output against the selected source: first orientation and completeness, then small details. If text was blurred before processing, do not count that as new damage from background removal.
Check the downloaded file where it will be used
Select Download, locate the saved file, and open it in your intended destination. A destination app may show transparency against white or another canvas color. Judge the subject's edge there as well as in the website preview.
If the saved output is unsuitable, keep both source and output for comparison. Changing the photo is a more informed next step than repeatedly submitting a tiny messaging thumbnail. Check current allowance details before further attempts.
Final checklist
- Prefer the camera original over a screenshot when available.
- Verify detail and orientation after transfer.
- Keep every part of the required silhouette in frame.
- Inspect both the preview and the downloaded result.
Once the source is ready, use the background-removal workflow for the processing steps.