Product photo workflow
Product photo checklist after background removal
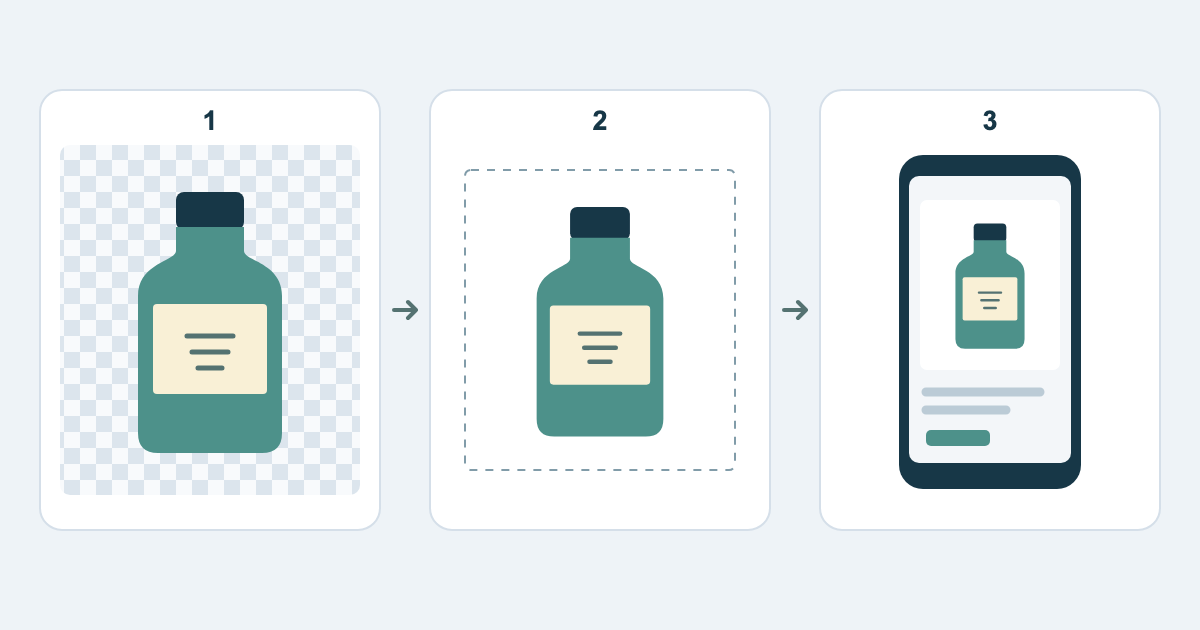
After removing a product photo background, check the saved cutout before uploading it to your store. Review the outline, compare the product with the original, arrange the canvas, and export a copy for the destination. Keep the transparent master separately so that the next listing does not start from a flattened image.
1. Keep the original beside the cutout
Save the original photograph, the downloaded cutout, and the final upload copy in separate files. A simple naming pattern is mug-blue-original.jpg, mug-blue-master.png, and mug-blue-store.jpg.
Open the original and cutout side by side at the same scale. Check the exact variant, including the handle shape, printed label, seams, and supplied accessories. If the original photograph has a strong color cast, use a color-aware editor and a reliable product reference before deciding what to correct. Background removal alone cannot establish the true color of a poorly lit photo.
2. Inspect the outline before resizing
Zoom to 100% and follow the entire boundary once. Start at a distinctive point, such as a bottle cap, and return to it so that you do not skip one side. Look inside handles and between straps as well as around the outside.
For a white mug, check whether the rim has disappeared into the removed background. For a bag, check whether a thin strap was erased or a patch of the old background remains inside it. Repair those areas in an external editor with mask controls. If too much detail is missing, return to a clearer source photo.
- Pause on transparent glass, mesh, reflective metal, and fine threads.
- Compare any uncertain edge with the original rather than guessing its shape.
- Keep repairs on a working copy so you can reverse them.
3. Choose the upload background deliberately
Google Merchant Center recommends white or transparent backgrounds in most cases; that is not a universal rule for every shop. Google advises against transparent backgrounds for light-colored products because they may appear on black; check the uploaded image for clarity. Read the destination guidance before choosing your upload background.
Keep a transparent PNG master. If the destination needs a solid background, open a copy in an external editor, add the chosen background beneath the product, and export that copy. Ordinary JPEG cannot preserve transparency, while PNG supports it. Do not assume that choosing a .png filename automatically creates transparent pixels.
Google Merchant Center — Image link requirementsMDN — Image file type and format guide
4. Set the canvas and check the thumbnail
Create the canvas for the intended listing format before positioning the product. Scale proportionally so a round lid stays round. Leave visible space around protruding parts, and avoid using a tight crop to hide a rough edge.
For a group of similar products, compare their apparent size on the same canvas. A small bottle should not accidentally look larger than the large version solely because its crop is tighter. Then view the image at the size of a store thumbnail: can you recognize the product, read its main shape, and distinguish the variant?
5. Export to the destination requirements
Read the destination’s current pixel dimensions, aspect ratio, accepted formats, and file-size limits. Record them with the upload copy. For Google listings, the official image_link page is the reference; requirements can change, so do not treat a remembered size as permanent.
Check the actual exported pixel dimensions in file properties. Enlarging a small cutout adds pixels but does not recover missing photographic detail. If the product itself is blurry at the required size, return to a higher-resolution original or take a new photograph. Export once from the working file where possible, rather than repeatedly saving a compressed upload copy.
6. Reopen the saved file, then review the listing
Open the final exported file, not just the editor preview. Confirm its background, complete outline, color, dimensions, and file size. Upload it to the intended product variant and inspect both the listing thumbnail and the larger image.
Keep a short acceptance note: correct variant, complete edges, chosen background, readable thumbnail, required size. If the platform changes the crop or display, adjust a new upload copy and preserve the master. Keep the master ready for future listing updates.